A stencil is placed on the skin, we step back, and the outline is not suitable. Wrong axis, misaligned size, unstable placement. Everything must be removed cleanly before starting again, without harming the epidermis or leaving purple marks that distort the next transfer. The tattoo stencil remains on the surface of the skin (it is not a tattoo), which simplifies removal, but certain products or actions can unnecessarily irritate if not done correctly.
Why the tattoo stencil resists simple rinsing
The hectographic dye used in transfer papers is designed to adhere to the skin despite sweating and handling during the session. A quick rinse under water is not enough to dissolve it, because the pigment formulation clings to the superficial layers of the epidermis.
This resistance is an advantage in the studio, but it becomes a problem when trying to correct a placement. Rubbing hard with a dry washcloth only irritates the area without dislodging the pigment. The dye spreads, the skin reddens, and it complicates the reapplication of a new stencil.
The key is to dissolve the binder of the dye before wiping. To properly understand the techniques for removing the tattoo stencil at home, we distinguish two families of solvents: fatty substances (oils, makeup removers) and alcohol-based solutions. Each has its advantages and limitations depending on skin type and the area concerned.
Removing a tattoo stencil with a fatty substance: oil and makeup remover
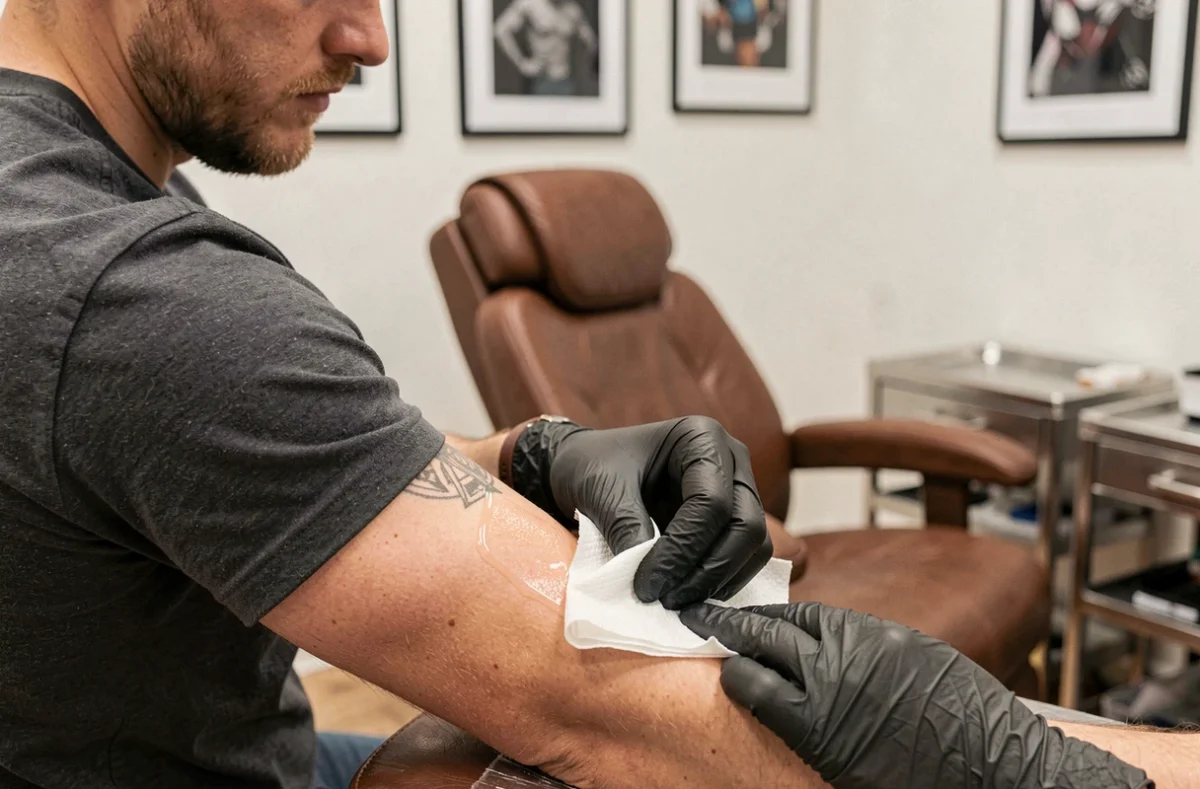
A fatty substance gently breaks down the hectographic pigment. We massage the area with the product, let it sit for a few minutes, then wipe with a compress or cotton pad. No aggressive friction.
Coconut oil or olive oil
Coconut oil is most often mentioned by amateur tattoo artists because it is widely available and hydrates the skin at the same time. Olive oil also works. We apply a generous layer on the stencil, massage with the pads of our fingers for a few minutes, and the pigment gradually detaches.
The purple residue almost entirely comes off in one go if we let the oil soften the dye before wiping. Wiping too quickly wastes product and requires starting over.
Two-phase makeup remover
Makeup removers formulated for waterproof makeup are remarkably effective on a stencil. Their oily phase dissolves the pigment, and their aqueous phase rinses away the greasy film. We soak a cotton pad, dab without rubbing, and repeat until the outline is completely gone.
This type of product is particularly suitable for sensitive areas (inside of the arm, neck, ribs) where the skin reacts quickly to friction.
Isopropyl alcohol for removing a stencil: effective but not trivial
Isopropyl alcohol is the fastest solvent for removing a stencil. A quick pass on the skin and the pigment disappears almost instantly. But it is not a comfortable product.
The DailyMed product sheet for isopropyl alcohol presents it as a first aid antiseptic and warns not to apply it on irritated skin or large areas. It is also important to avoid contact with eyes and mucous membranes. Its safety data sheet in laboratory grade classifies it as a highly flammable liquid, with a risk of eye irritation and effects related to inhalation.
In practice, it is used on a small area, with a soaked cotton pad, in a ventilated space. Do not pour the bottle on the skin. And never apply it just before tattooing, as it dries out the epidermis and can affect the hold of the new transfer.

Comparison of methods for removing a tattoo stencil
| Method | Effectiveness | Gentleness | Precautions |
|---|---|---|---|
| Coconut/olive oil | Good (requires a few minutes of massage) | Very gentle, moisturizing | Thoroughly wipe the greasy film before reapplying the stencil |
| Two-phase makeup remover | Very good | Gentle, suitable for sensitive areas | Choose a fragrance-free formula to limit reactions |
| Isopropyl alcohol | Immediate | Drying, potential irritant | Not on broken skin, small area, ventilated space |
| Antibacterial soap + warm water | Moderate (possible residues) | Gentle | Insufficient alone on a well-fixed stencil |
Antibacterial soap with warm water removes surface residues, but often leaves a stubborn purple veil. It is rather used as a complement after an application of oil or makeup remover.
Preparing the skin after removing the tattoo stencil
Removing the stencil is only half the job. If we want to properly reapply a new transfer, the skin must be clean, dry, and not irritated. Here are the steps to follow:
- Rinse the area with warm water to eliminate any product residue (oil, alcohol, or makeup remover)
- Dry by dabbing with a sterile compress or clean paper towel, without rubbing
- Wait for the skin to return to its normal texture before reapplying a stencil, especially after using alcohol which temporarily dries out the epidermis
- Apply a thin layer of healing cream with panthenol if the area shows redness, then wait before attempting the transfer again
A residual greasy film prevents the new stencil from adhering properly. If coconut oil has been used, a gentle soap cleaning after degreasing is necessary for the next transfer to hold.
Common mistake to avoid
Rushing the removal and reapplication too quickly. The skin needs a few minutes to rest. A reddened or slightly swollen area from friction will not hold the stencil as well as calm skin. Time is wasted trying to save time.
Removing a tattoo stencil at home remains a simple operation as long as the right product is chosen for the skin and no force is applied. A fatty substance for gentleness, alcohol for speed, and in all cases, a careful cleaning before reapplying the transfer. Patience between applications is just as important as the product itself.